Posts Tagged ‘tye die cake’
Tie Dye Birthday Cake
Posted on: April 23, 2009
- In: Chocolate | Food coloring | Tier cakes
- 7 Comments
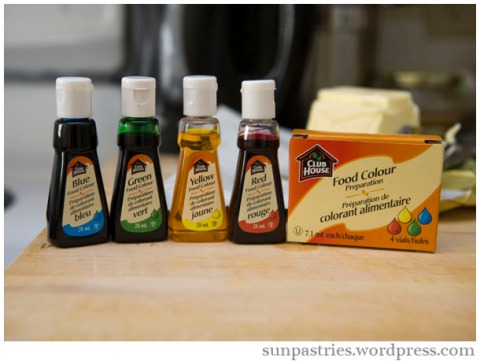
It’s my nephew’s 10th birthday, so it’s kindof a big deal. I asked my sister right away if I could make the birthday cake and she agreed. She asked for something chocolatey, so I made a cream cheese frosting out of Nutella and cocoa powder… as for the cake, I used a recipe I had made before from Boho Kitchen with a few exceptions. I wanted to make a funky-looking cake as a surprise – unfortunately I wasn’t there to see his face when he cut into it, expecting a chocolate cake and getting all these colors instead!
Be sure to check out the photos below for some additional notes. This was the first tiered cake I attempted and boy, I learned a lot. Read ahead to experience my journey! 😉
Tie Dye Cake
INGREDIENTS
- 1 cup unsalted butter, softened
- 2 cups white sugar
- 4 large eggs, room temperature
- 1 ½ cups self-rising flour
- 1 ¼ cups all purpose flour
- 1 cup buttermilk/regular milk
- 1 teaspoon vanilla
- Food coloring
DIRECTIONS
1. Preheat oven to 350 degrees F.
2. Cream together butter and sugar.
3. Add in eggs one at a time.
4. Combine and sift flours, set aside.
5. Combine milk and vanilla.
6. Add flours and milk to butter mixture interchangeably, mix well.
7. Divide batter evenly into bowls according to how many colors you have. Add in the food coloring to each bowl and mix until the batter is completely covered with the food coloring. Feel free to add more coloring to reach your desired color. Red is usually the hardest to mix.
8. Grease two pans (8″ or 9″) and flour them, or use parchment paper for the bottom. Spoon each colored batter evenly (by spoonfuls or as you wish) into the pans.
9. Bake for 30-35 minutes, or until toothpick inserted into center of cake comes out clean. (Boho Kitchen said 20-25 minutes but I didn’t find that long enough.)
 Alright! So we start off by weighing the butter. 1 cup is 250g, as shown above. Let the eggs and butter sit around until they reach room temp.
 Once upon a time, I read somewhere that it’s better to use shortening than butter or margarine to grease pans. This works out well considering I bought this Crisco to use with fondant, and since then I haven’t had a use for it since I don’t like cooking with it. So I’ll just use it for greasing from now on.
 I hadn’t really heard of self-raising flour prior to making this cake, but lo and behold, there it is in almost every major grocery chain.
 You may notice that the all purpose flour says it’s “pre-sifted”, but there are many instances where recipes have called for you to sift the flour again. I didn’t understand why until I came across this website, explaining the purpose of sifting flour out of the bag. Read through it for some interesting facts!
 And since I was sifting flour, I floured up the pans before putting the flour away. You’ll notice one pan is slightly larger than the other – I used a 9″ pan as the bottom tier and an 8″ pan for the top.
 Adding the eggs in, one at a time.
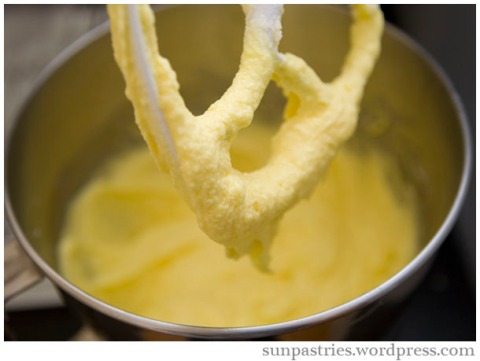 The color of the eggs and butter made the mixture pretty yellow.
 Mixing in the vanilla with the milk. Add it to the butter mixture along with the flour mixture. Some time during this step, you may want to stop and scrape the sides of the bowl to make sure everything is being mixed properly.

Divide the batter evenly. However, do NOT do what I did here and use such tiny bowls… it made it really hard to mix the batter! Unfortunately I had nothing bigger to use. Each bowl had approx. 1.5 heaping cups of batter.
 Ohh~ it’s like back in art college when we had to mix paint.
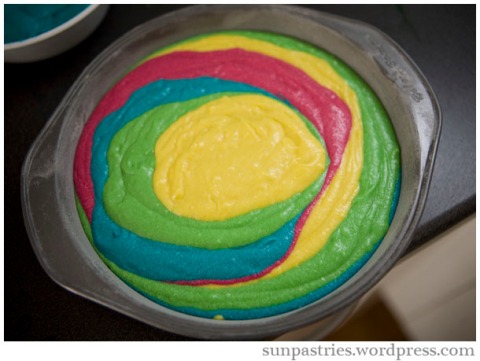 So now you drop in each batter a spoonful at a time. I tried to drop the batter so it was one on top of the other. Once you have enough batter in the pan, pick up the pan and drop it to the counter from a small distance to even out the batter level in the pan. This will also get rid of any air bubbles.
 Both cakes are done baking! The colors came out so vivid and beautiful, but something would go horribly wrong soon…
 Take a lesson from me, folks. Let your cake cool completely before taking it out of the pan. If you are impatient like me, this is what happens! So unfortunately I ruined my top tier, but I realized I needed to make a second bottom layer anyway so I made another batch of the same cake – and Joe got to have the failed top tier all for himself. 🙂
 Saw this in the sink and I was pretty amused. Tiny colors!
 Now for the frosting. I used about 16 oz of softened cream cheese, 3 cups of icing sugar, 2/3 cup of Nutella and about 1/4 cup of cocoa powder. (Also, check out my blue fingernail – all in a hard day’s work.) So first you mix the cream cheese with sugar.
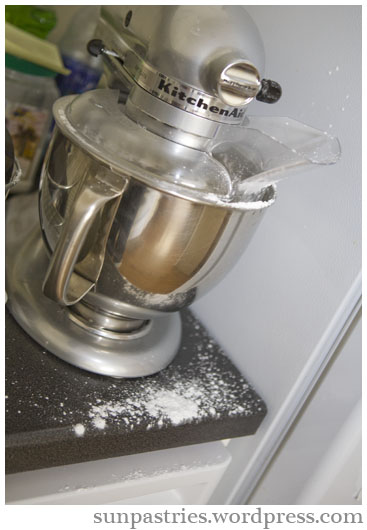 Even at slow mixing speed, and even with the sheild on…… this is what happened. Lovely.
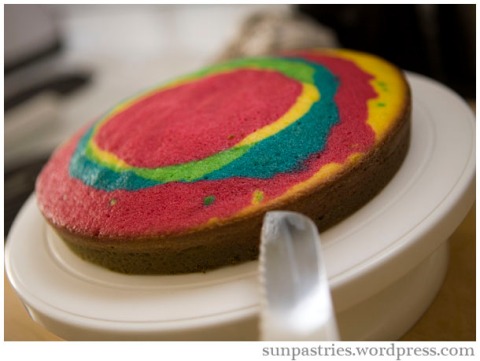 And now, we cut away the top part of both of the bottom layer cakes so it’s better for frosting. (This photo feels a little like Doom…)
 Now apply the frosting…
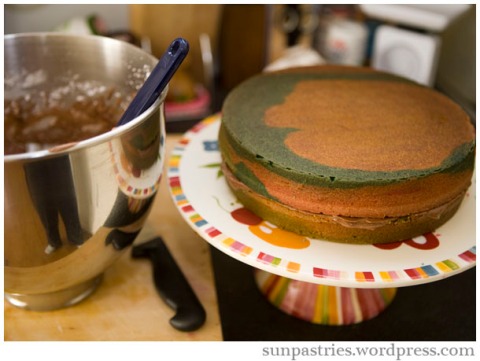 …and sandwich the two bottom cakes together to get your bottom tier. (Oops, nice legs reflection there…!)
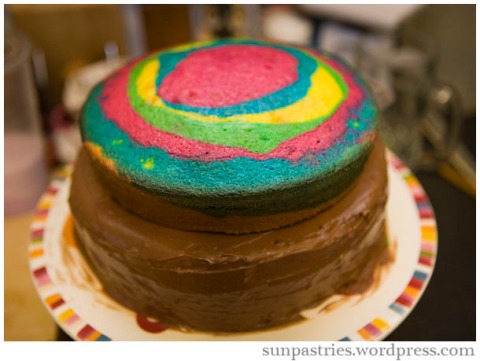 Once the bottom tier is frosted, put on the top tier. If you followed the recipe amounts posted at the beginning of this post, you should only have what is pictured in the bottom tier (the frosted cake).
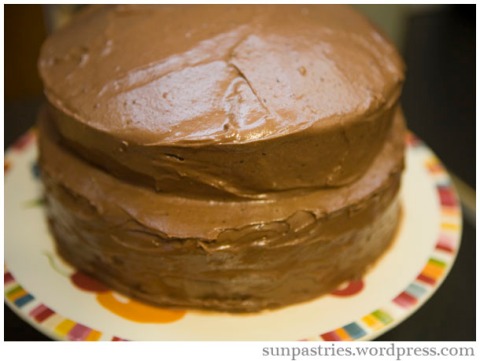 I waited for the bottom layer’s frosting to harden a little and then frosted the top layer.
Unfortunately, I wasn’t there to get photos of the cake’s insides, but you can pretty much put it together on your own. I heard everyone really loved it though, and who wouldn’t with so many colors!!