Sweet Chocolate Buns
Posted on: June 16, 2009
- In: Chocolate | Dough | Yeast
- 8 Comments
I purchased Donna Hay’s Chocolate book probably about a year ago, and due to my current diet, haven’t had a lot of opportunity to make much from it. Recently, a friend of mine asked me for a chocolate cake recipe so I pulled out the book again to get my favorite cake recipe for her and got a hankering to make something from this book… so many lovely recipes! I’ve been busy with my photography work (not much time to bake) but I decided to make time to make these cute buns I found in this book.
Sweet Chocolate Buns (from Donna Hay’s “Chocolate”)
Serves: 6.
INGREDIENTS – Basic Sweet Dough
- 2 teaspoons active dry yeast
- 5 tablespoons sugar
- ¾ cup lukewarm milk
- 2 ¼ cups all-purpose flour
- 40 grams butter, melted
- 1 egg yolk
DIRECTIONS
- Place yeast, 2 teaspoons of sugar and all of the milk in a bowl and mix to combine. Set aside in a warm place for 5-10 minutes, until bubbles appear on the surface.
- Combine flour, butter, yolk, and remaining sugar in a separate bowl. Add yeast mixture and mix until smooth dough forms. (Kitchenaid mixer users: Use the dough hook to combine and kneed the ingredients for approx. 5 minutes and skip step 3.)
- Kneed on a lightly floured surface for 8-10 minutes, until dough is smooth and elastic, adding a little extra flour to the dough if it becomes too sticky (I didn’t find extra flour necessary.)
INGREDIENTS – Chocolate Filling and Glaze
- 80 grams dark chocolate, chopped (I used half dark, half milk chocolate)
- 1 egg yolk
- 2 tablespoons whipping/pouring/single cream
- Caster sugar for sprinkling (also known as Berry Sugar in Canada)
DIRECTIONS
- Turn on oven to 350 F and turn it off after a minute of preheating. (This is for letting the dough rise in later steps.)
- Divide sweet dough into 6 pieces. Press into oval shapes measuring 4 ¼ inches by 3 ½ inches (this doesn’t have to be accurate, don’t stress over it.) Place chocolate in the center and fold dough to enclose.
- Place in 6 greased 3 ½ inches by 1 ¾ inches loaf tins (I used Baker’s Mate Petite Loaf Pan – 3 5/8 inches by 2 3/8 inches – worked out perfectly.) Cover with a clean tea towel and place into warmed oven for 1 hour, or until doubled in size.
- Once ready, take out of oven and preheat the oven to 320 F.
- Whisk together whipping cream and egg yolk and brush over the loaves. Sprinkle with caster sugar and bake for 20 minutes or until golden brown.
 Warming the milk a little on the stove. I read somewhere a temperature of 110 F is perfect for proofing yeast – anything less could retard the growth and anything more will kill the yeast.
 Adding the milk to the yeast and sugar. Make sure your bowl is fairly big for the bubbles. Covering this bowl with a clean tea towel is a good idea for keeping the liquid warm.
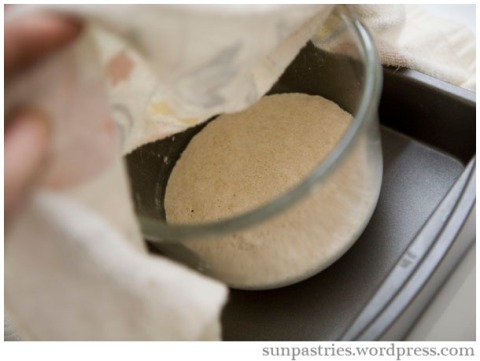 After about 5-6 minutes… bubbles!
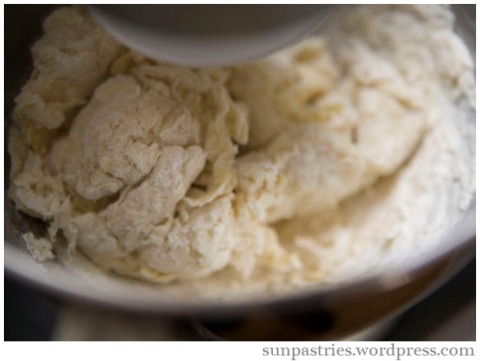 Now to mix all the ingredients. I used my Kitchenaid mixer to combine and kneed the dough since it does such a good job 🙂
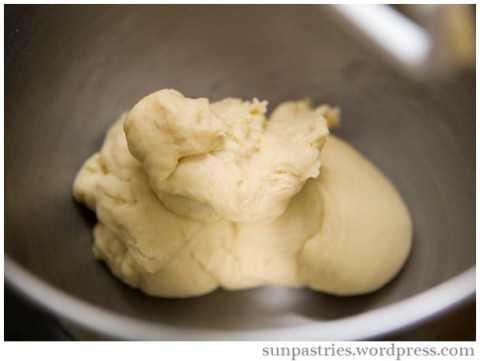 It should look like this when finished, and be reaaaaaally stretchy.
 The ingredients for the filling and glaze! Not much to it, right?
 Rolled out the dough on a lightly floured surface in preparation of cutting…
 …and here we are in 6 pieces!
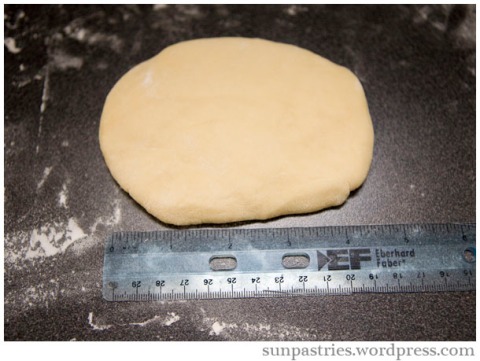 I used a ruler to measure approximately how large I should make each circle.
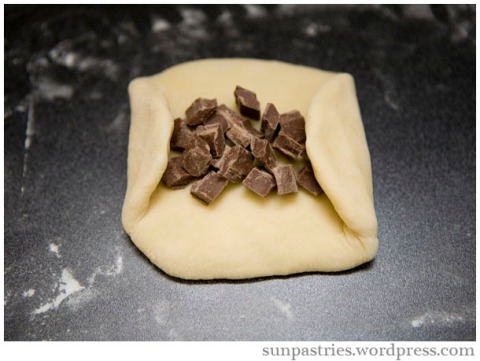 This part is a little tricky, but you need to use the dough’s elasticity to your advantage. First roll in the corners…
 …then roll the bottom up, and then the top part over the bottom. Feel free to stretch the top waaay over the bottom part for complete coverage. Then pinch all the seams closed.
 Place the rolled doughs into greased pans, cover with tea towel, and into the warm oven for an hour!
 This is an hour later in the warm oven. Looks like some were trying to merge together, LOL. Now just glaze with egg/cream and sugar.
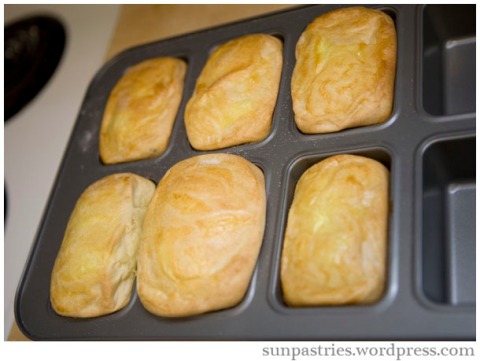 20 minutes baking at 320 F and done!
 So cute >w<
 Mmmm! Delicious. I hope you enjoy!
¾
Tie Dye Birthday Cake
Posted on: April 23, 2009
- In: Chocolate | Food coloring | Tier cakes
- 7 Comments
It’s my nephew’s 10th birthday, so it’s kindof a big deal. I asked my sister right away if I could make the birthday cake and she agreed. She asked for something chocolatey, so I made a cream cheese frosting out of Nutella and cocoa powder… as for the cake, I used a recipe I had made before from Boho Kitchen with a few exceptions. I wanted to make a funky-looking cake as a surprise – unfortunately I wasn’t there to see his face when he cut into it, expecting a chocolate cake and getting all these colors instead!
Be sure to check out the photos below for some additional notes. This was the first tiered cake I attempted and boy, I learned a lot. Read ahead to experience my journey! 😉
Tie Dye Cake
INGREDIENTS
- 1 cup unsalted butter, softened
- 2 cups white sugar
- 4 large eggs, room temperature
- 1 ½ cups self-rising flour
- 1 ¼ cups all purpose flour
- 1 cup buttermilk/regular milk
- 1 teaspoon vanilla
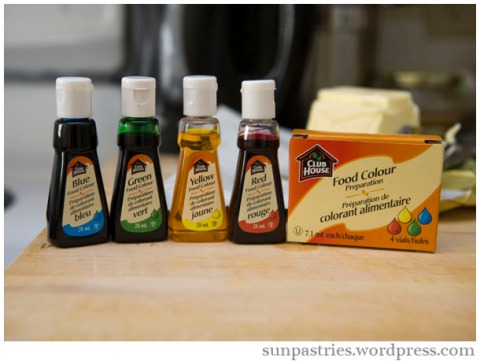
- Food coloring
DIRECTIONS
1. Preheat oven to 350 degrees F.
2. Cream together butter and sugar.
3. Add in eggs one at a time.
4. Combine and sift flours, set aside.
5. Combine milk and vanilla.
6. Add flours and milk to butter mixture interchangeably, mix well.
7. Divide batter evenly into bowls according to how many colors you have. Add in the food coloring to each bowl and mix until the batter is completely covered with the food coloring. Feel free to add more coloring to reach your desired color. Red is usually the hardest to mix.
8. Grease two pans (8″ or 9″) and flour them, or use parchment paper for the bottom. Spoon each colored batter evenly (by spoonfuls or as you wish) into the pans.
9. Bake for 30-35 minutes, or until toothpick inserted into center of cake comes out clean. (Boho Kitchen said 20-25 minutes but I didn’t find that long enough.)
 Alright! So we start off by weighing the butter. 1 cup is 250g, as shown above. Let the eggs and butter sit around until they reach room temp.
 Once upon a time, I read somewhere that it’s better to use shortening than butter or margarine to grease pans. This works out well considering I bought this Crisco to use with fondant, and since then I haven’t had a use for it since I don’t like cooking with it. So I’ll just use it for greasing from now on.
 I hadn’t really heard of self-raising flour prior to making this cake, but lo and behold, there it is in almost every major grocery chain.
 You may notice that the all purpose flour says it’s “pre-sifted”, but there are many instances where recipes have called for you to sift the flour again. I didn’t understand why until I came across this website, explaining the purpose of sifting flour out of the bag. Read through it for some interesting facts!
 And since I was sifting flour, I floured up the pans before putting the flour away. You’ll notice one pan is slightly larger than the other – I used a 9″ pan as the bottom tier and an 8″ pan for the top.
 Adding the eggs in, one at a time.
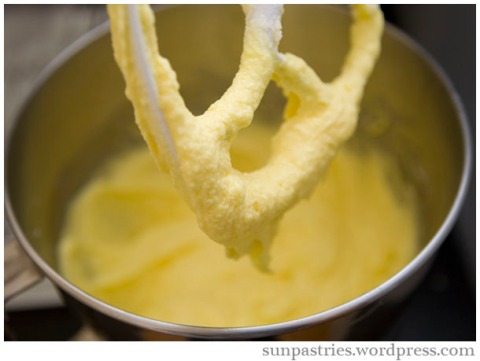 The color of the eggs and butter made the mixture pretty yellow.
 Mixing in the vanilla with the milk. Add it to the butter mixture along with the flour mixture. Some time during this step, you may want to stop and scrape the sides of the bowl to make sure everything is being mixed properly.

Divide the batter evenly. However, do NOT do what I did here and use such tiny bowls… it made it really hard to mix the batter! Unfortunately I had nothing bigger to use. Each bowl had approx. 1.5 heaping cups of batter.
 Ohh~ it’s like back in art college when we had to mix paint.
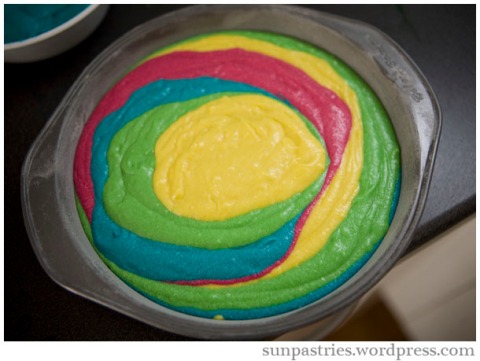 So now you drop in each batter a spoonful at a time. I tried to drop the batter so it was one on top of the other. Once you have enough batter in the pan, pick up the pan and drop it to the counter from a small distance to even out the batter level in the pan. This will also get rid of any air bubbles.
 Both cakes are done baking! The colors came out so vivid and beautiful, but something would go horribly wrong soon…
 Take a lesson from me, folks. Let your cake cool completely before taking it out of the pan. If you are impatient like me, this is what happens! So unfortunately I ruined my top tier, but I realized I needed to make a second bottom layer anyway so I made another batch of the same cake – and Joe got to have the failed top tier all for himself. 🙂
 Saw this in the sink and I was pretty amused. Tiny colors!
 Now for the frosting. I used about 16 oz of softened cream cheese, 3 cups of icing sugar, 2/3 cup of Nutella and about 1/4 cup of cocoa powder. (Also, check out my blue fingernail – all in a hard day’s work.) So first you mix the cream cheese with sugar.
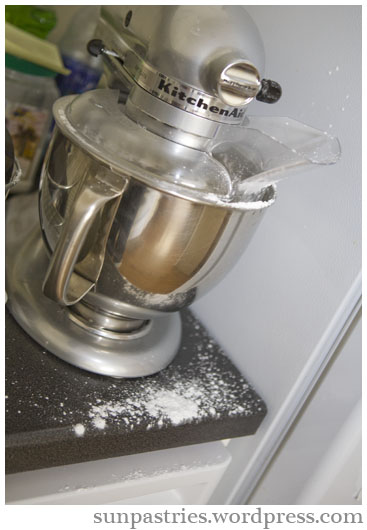 Even at slow mixing speed, and even with the sheild on…… this is what happened. Lovely.
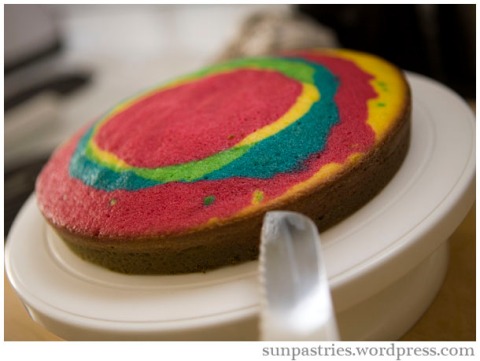 And now, we cut away the top part of both of the bottom layer cakes so it’s better for frosting. (This photo feels a little like Doom…)
 Now apply the frosting…
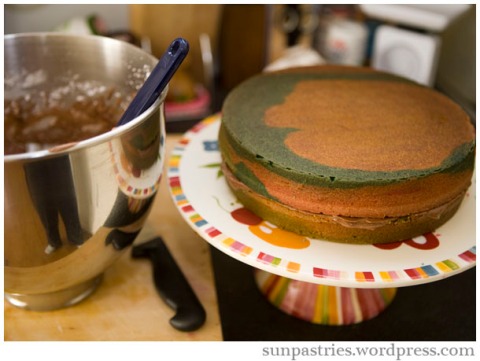 …and sandwich the two bottom cakes together to get your bottom tier. (Oops, nice legs reflection there…!)
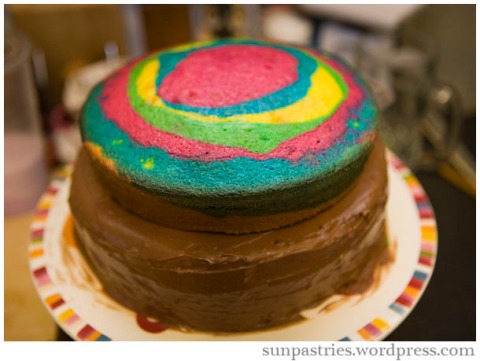 Once the bottom tier is frosted, put on the top tier. If you followed the recipe amounts posted at the beginning of this post, you should only have what is pictured in the bottom tier (the frosted cake).
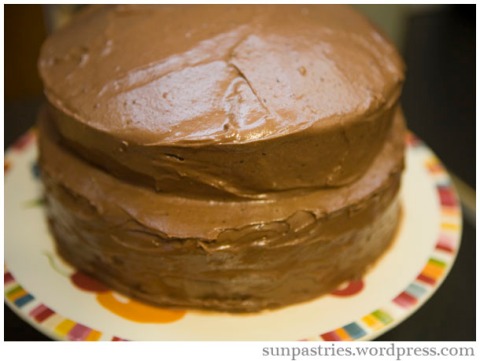 I waited for the bottom layer’s frosting to harden a little and then frosted the top layer.
Unfortunately, I wasn’t there to get photos of the cake’s insides, but you can pretty much put it together on your own. I heard everyone really loved it though, and who wouldn’t with so many colors!!
- In: Alcohol | Box mix | Chocolate | Cupcakes
- 10 Comments
 What can you make with all of this? Chocolate Guinness Cupcakes with Bailey’s Irish Cream Frosting!
Each year, my fiance and I throw what we term a “Bucket Party” – which is really just a drinking party. Essentially the idea came from the SangSom Thai Buckets that usually are tradition during the Full Moon Party in Thailand. We’ve never had the pleasure of the experience but we heard about it indirectly through a friend of ours who has, so we wanted to try it ourselves – only the ingredients available here in Canada made the traditional recipe less than tasty for most people. Since then, we’ve changed the rules and allowed people to put anything in their buckets and let the good times roll!
This year, we decided to go on the road with the Bucket Party. With 13 of us, I wondered what sweet thing I could make that would be transportable, makes a large quantity but is quick to make, as well as somewhat related to the Bucket Party idea. And then, I discovered this recipe in one of my favorite LiveJournal baking communities using a box mix. Normally I’m not a fan of using pre-made anything, but this worked out so well, and trust me – making 80+ cupcakes with even a simple box mix took a good couple of hours.
Now, there’s no real recipe to this because you follow the instructions on the box and make one substitution for the cupcakes, and one addition for the frosting. You guessed it… beer in place of water/milk for the cupcakes and add some Irish Cream into the frosting.
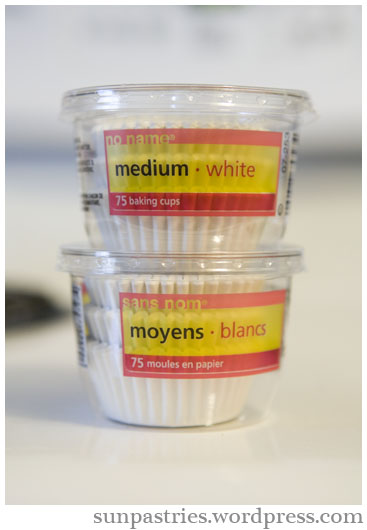 For the cupcakes, I used “medium” sized cups which were pretty small – they fit just fine into the mini cupcakes section of a Wilton 3 in 1 Caddy.
 Mix all of the box ingredients, replacing water for the Guinness.
 Make sure it’s all mixed nicely; it smelled so chocolatey~
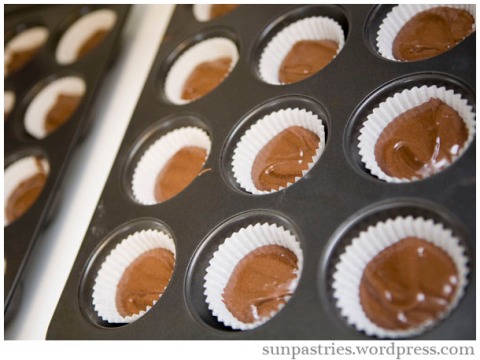 The cups were a little too small for the pan, but the mini cupcake pan I had was too small for the cups! So this had to do. For this size of cup, I baked them at 325 degrees F for 15-16 minutes.
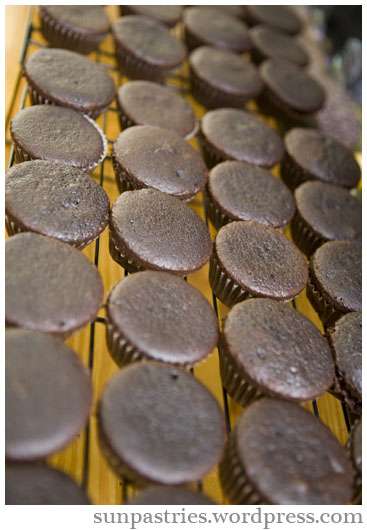 Chilling after baking!
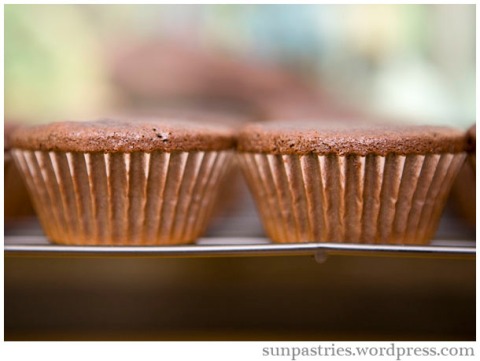 They are fairly small for “medium” sized cups.
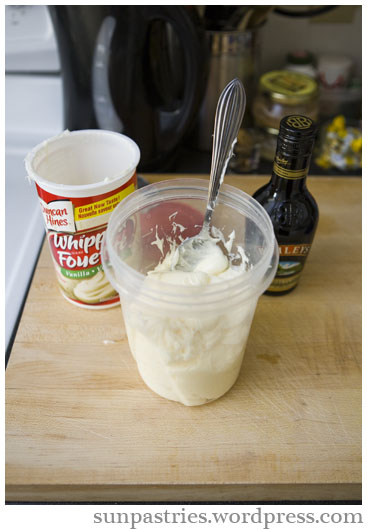 For the frosting, I used Duncan Hines Whipped Vanilla frosting (16 oz I believe), which I emptied into a container for mixing and later for transporting.
 I experimented with the consistency of the frosting, testing to see how much Bailey’s I can get away with without making the frosting too runny.
 In the end, there were about 3 tablespoons of Bailey’s added without much change in consistency, so feel free to add more to your own taste!
 Frosted 6 of the 80+ cupcakes to leave at home as it turned out I didn’t have enough space in the Caddies to bring all the cupcakes I made.
In the end, 2 boxes of Duncan Hines Moist Deluxe Chocolate cake mix made over 80 medium cupcakes, and the 16 oz tub of frosting was more than enough to frost the cupcakes (with just a dollop of frosting per cupcake). The only problem I had (and you can see this in the last photo a little) was that the cupcakes ended up pretty oily so the cups started to unwrap themselves from the cupcakes. Not sure why this happened – maybe the cake mix wasn’t really meant to make cupcakes? Oh well, they were tasty either way and no one was bothered by some silly wrapping 🙂
Pecan Raisin Coffee Cake
Posted on: April 21, 2009
- In: Buttermilk | Coffee Cakes | Nuts | raisin
- Leave a Comment
A good friend of mine was having a pot luck at his work, so I opted to help him make something yummy. We were supposed to work on this together so he could learn to bake, but unfortunately he fell sick a few days before our planned baking date and I was left to make it myself – which was no problem for me either way as I love to bake! So I found this recipe that used ingredients I already had at home, as well as buttermilk that needed to be used in my fridge.
I am told it tasted something like cinnamon buns – it sure smelled like it while baking, mmm!

Pecan Raisin Coffee Cake (taken from Allrecipes.com)
INGREDIENTS
- 1 cup packed brown sugar
- 1 cup chopped nuts
- 1/3 cup butter or margarine, melted
- 2 tablespoons all-purpose flour
- 4 teaspoons ground cinnamon
BATTER:
- 1/2 cup butter or margarine, softened
- 1 1/2 cups sugar
- 2 eggs
- 3 cups all-purpose flour
- 4 teaspoons baking powder
- 1/2 teaspoon salt
- 2 cups buttermilk
- 1 cup raisins
DIRECTIONS:
- Preheat oven to 350 degrees F.
- Optional step: Boil a pot of water on the stove and add raisins. Let the raisins simmer for about 15 minutes to plump. Remove from heat and strain with wire mesh.
- In a bowl, combine the first five ingredients until mixture resembles coarse crumbs; set aside.
- In a mixing bowl, cream butter and sugar. Add eggs, one at a time, beating well after each addition.
- Combine the dry ingredients; add to creamed mixture alternately with buttermilk. Stir in raisins.
- Spread half of the batter into a greased 13″ x 9″ x 2″ baking pan. Sprinkle with half of the crumb mixture. Carefully spread with remaining batter and sprinkle with remaining crumb mixture. Bake for 35-40 minutes or until a toothpick inserted near the center comes out clean.
Now for some photos of the process!
 Boiling raisins on the stove.

Then the top 5 ingredients get mixed together…
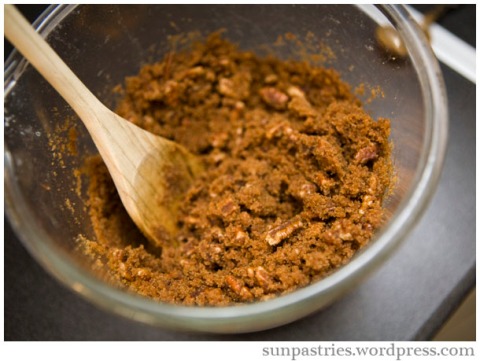 …to form a crumbly mixture.
 Mixing in step 4…
 …making it really creamy!
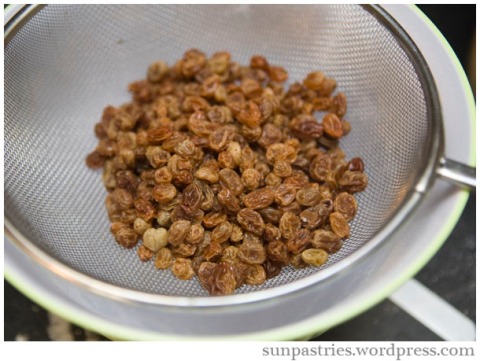 At some point, the raisins are strained, looking nice and plump.

After the dry ingredients and raisins are added to the wet, time to pour out half the batter into the baking pan.
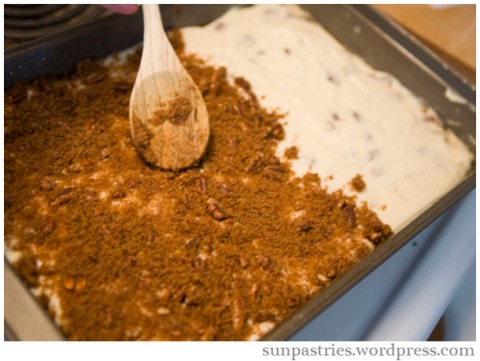 Half of the crumbly pecan mixture is added on top of the batter, then repeat the two steps above with the rest of the batter and pecan mixture.
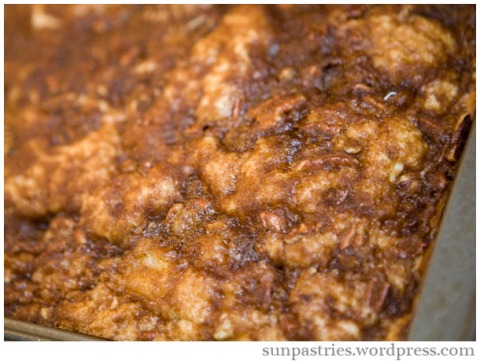
Bake for 35-40 mins, and cake is done! Looks like caramelized sugar and pecans, yum 🙂
Hello, friends!
Posted on: April 13, 2009
Welcome to the food blog of Anna Michalska, also known as Sun Pastries. This blog will be updated on a per-bake basis – whenever I’ve whipped up something new in the kitchen, it’ll most likely be here! Occassionally, I’ll add the recipe for you to try.
Look forward to my first post some time next week 🙂

 I used buckwheat honey for no other reason than it was available to me. I usually try to stick to more “natural” honey (aka unpasteurized).
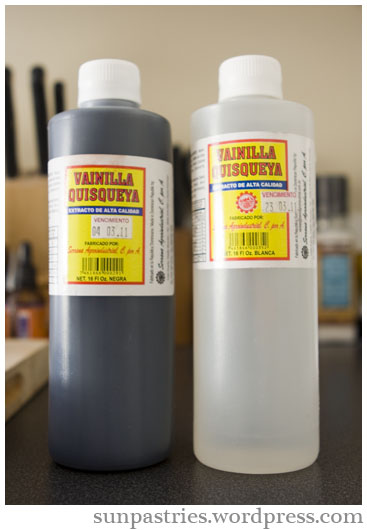 I recently came back from the Dominican Republic, and these two lovely vanilla extract bottles were a part of my spoils. I had never seen white vanilla extract before – I’ve been told it works best for frostings and the like. I was really excited to try the dark vanilla for this recipe!
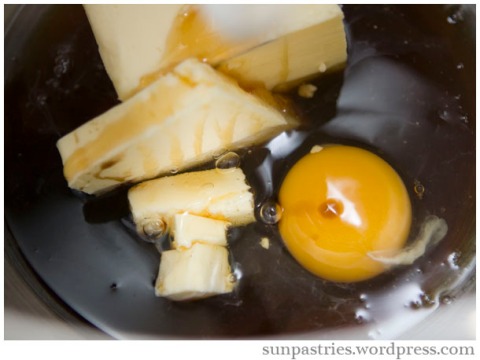 So we add all of the wet ingredients together for mixing…
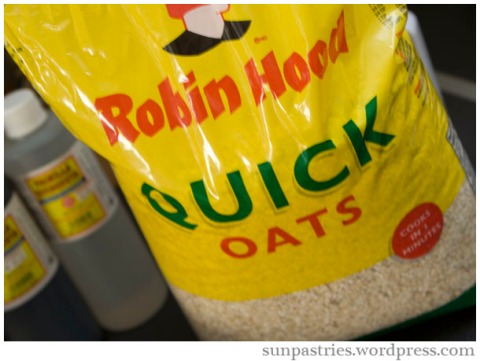 …in the meantime, combine all the dry ingredients into a large bowl. I used Quick Oats.
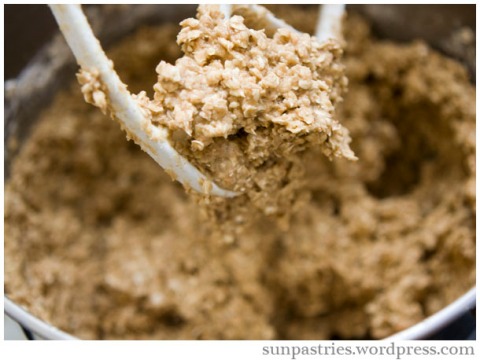 Once you add the dry ingredients to the wet, let the mixture sit for the oats to soak. This makes a softer cookie.
 15 minutes later, add any optional ingredients. I used raisins and chocolate chips – a very delicious combination!
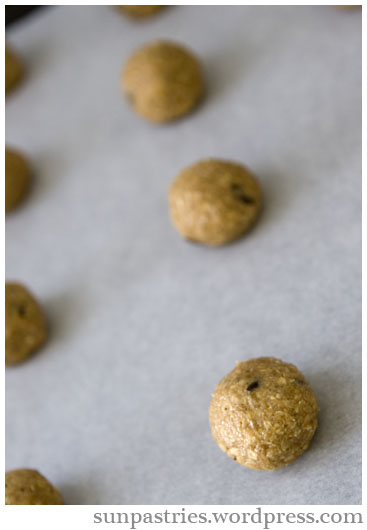 I rolled these out pretty small, maybe 1/3 the size of my palm, so they were “bite size” for the most part. No need to space these apart too much, they don’t grow much bigger in the oven.
 Deliciously finished!